Install OpenShift Local on your own computer
Prerequisite Articles

There are many ways to run applications like databases, message brokers, and search engines on your computer. I like to run these applications for development on my computer the same way I would in the cloud. Red Hat OpenShift Local makes it simple to run as many cloud-native applications as your computer has resources to support. To get started with OpenShift Local:
Click the Install OpenShift on your laptop button.
This will ask you to log into your Red Hat account. If you do not already have a Red Hat account, click here to learn about becoming a Red Hat Developer for free.
It depends on your operating system how you will install OpenShift Local. Here are some instructions for installing OpenShift Local if you have a computer running Microsoft Windows or Linux. Select your operating system below.
The next page has a section "Download what you need to get started". Make sure that Windows is selected in the dropdown, then click the Download OpenShift Local button.
Extract the OpenShift Local compressed zip file into the Downloads directory in the Command Prompt.
tar -xf %USERPROFILE%\Downloads\crc-windows-installer.zip ^
  -C %USERPROFILE%\Downloads\
From the Command Prompt, run the OpenShift Local MSI installer.
%USERPROFILE%\Downloads\crc-windows-amd64.msi- Click Next.
- Read the license agreement, then click I accept the terms in the License Agreement, then click the Next button.
- Click the Install button.
-
Windows Administrator privileges required Configuring OpenShift Local requires Administrator privileges to your system to configure it's virtual machine configuration and networking.Click the Yes button to continue.Then click the Yes button to continue. - When completed, click the Finish button.
- Then click the Reboot button to reboot your computer.
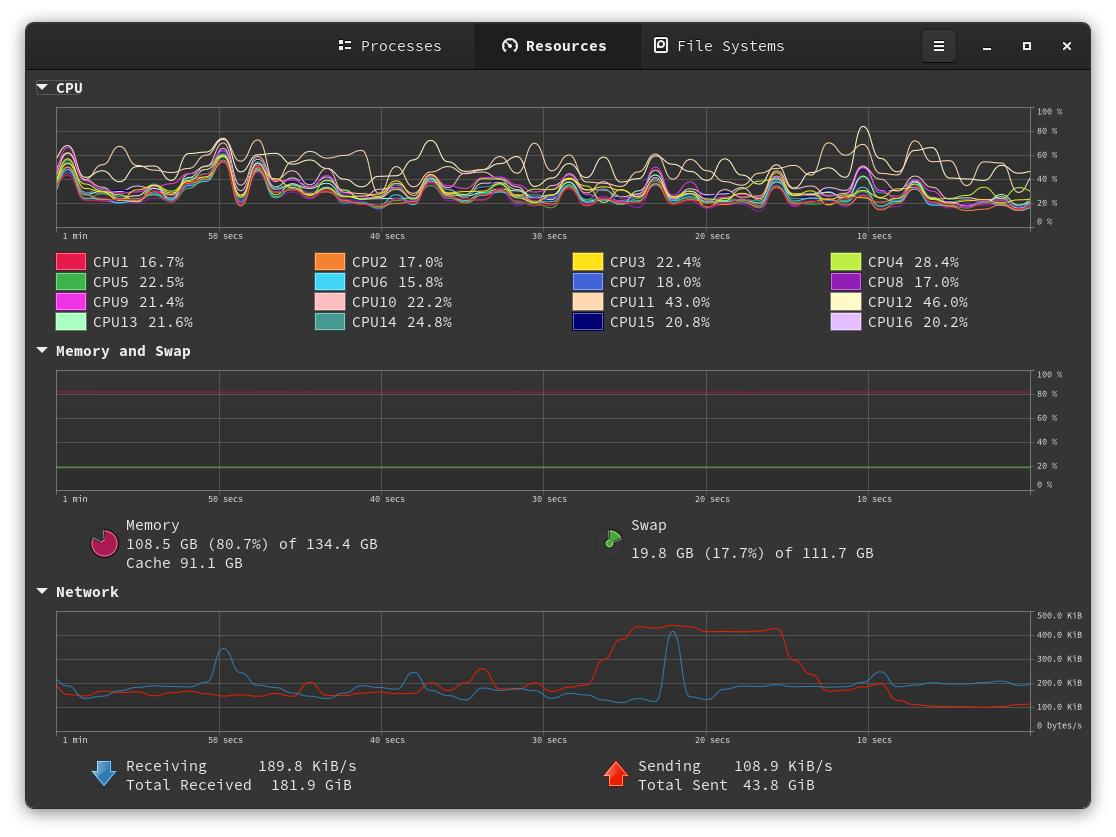
To effectively configure OpenShift Local, you need to understand the amount of CPUs, memory, and storage on your computer. Use the command below in Command Prompt to display the amount of system resources in your computer.
systeminfo | findstr /C:"Total Physical Memory"Use the command below in Command Prompt to display the amount of logical processors in your computer.
echo %NUMBER_OF_PROCESSORS%-
- For cpus:
- I recommend subtracting your total number of CPUs by 1.
-
- For memory:
- I recommend reserving your 90% of your total memory for OpenShift Local, but you can do more or less if you wish. Multiply by 90% of your total memory, and I divide by 1000 to get the total memory in MB, which is normally shown in kB.
-
- For disk-size:
- I recommend at least 400GiB, but if you don't actually have that much space, it's ok. The disk automatically grows dynamically over time, as data is persisted.
Now configure the CPUs of OpenShift Local with the crc command.
set /a CRC_CPUS=%NUMBER_OF_PROCESSORS%-1 && crc config set cpus %CRC_CPUS%Now configure the memory of OpenShift Local with the crc command.
for /f "tokens=4" %a in ('systeminfo ^| findstr /C:"Total Physical Memory"') do set STR_MEMORY=%a
set "TOTAL_MEMORY=%STR_MEMORY:,=%"
set /A MULTIPLY_MEMORY="%TOTAL_MEMORY%*90"
set SET_MEMORY=%MULTIPLY_MEMORY:~0,-3%
crc config set memory %SET_MEMORY%0
Now configure the disk-size of OpenShift Local with the crc command.
crc config set disk-size 400By default, OpenShift Local will generate a random password for the kubeadmin user. If you have a password in mind you would like to use instead of a random password, or you use OpenShift Local on multiple computers and save the password in the browser, you might want to set the default kubeadmin password.
crc config set kubeadmin-password The next page has a section "Download what you need to get started". Make sure that Linux is selected in the dropdown, then click the Download OpenShift Local button.
install -d ~/.local/bin/tar xvf \
~/Downloads/crc-linux-amd64.tar.xz \
--strip-components=1 \
-C ~/.local/bin/ \
crc-linux-*-amd64/crcTo effectively configure OpenShift Local, you need to understand the amount of CPUs, memory, and storage on your computer. Use the command below to display the amount of system resources in your Terminal.
echo "scale=0; $(grep MemTotal \
  /proc/meminfo | awk \
  '{print $2}') / 1000" | bc \
  | { read -r prefix; echo "${prefix}MiB memory"; }
echo "$(nproc) logical processors"-
- For cpus:
- I recommend subtracting your total number of CPUs by 1.
-
- For memory:
- I recommend reserving your 90% of your total memory for OpenShift Local, but you can do more or less if you wish. Multiply by 90% of your total memory, and I divide by 1000 to get the total memory in MB, which is normally shown in kB.
-
- For disk-size:
- I recommend at least 400GiB, but if you don't actually have that much space, it's ok. The disk automatically grows dynamically over time, as data is persisted.
Now configure the CPUs of OpenShift Local with the crc command.
crc config set cpus $(($(nproc) - 1))Now configure the memory of OpenShift Local with the crc command.
crc config set memory $(echo \
  "scale=0; $(grep MemTotal \
  /proc/meminfo | awk \
  '{print $2}') * 0.9 / 1000" | bc)
Now configure the disk-size of OpenShift Local with the crc command.
crc config set disk-size 400By default, OpenShift Local will generate a random password for the kubeadmin user. If you have a password in mind you would like to use instead of a random password, or you use OpenShift Local on multiple computers and save the password in the browser, you might want to set the default kubeadmin password.
crc config set kubeadmin-password Unfortunately, MacOS is not supported with OpenShift Local since MacOS became ARM64 architecture.
Make sure everything looks just right before starting OpenShift Local for the first time.
crc config viewThe next step will set up local virtualization and networking infrastructure for using OpenShift Local. Run this command in a Terminal.
crc setupIt will ask you, Would you like to contribute anonymous usage statistics? You can enter y, or N.
Configuring OpenShift Local requires root access to your system to configure it's virtual machine configuration and networking.
When everything is ready, start OpenShift Local.
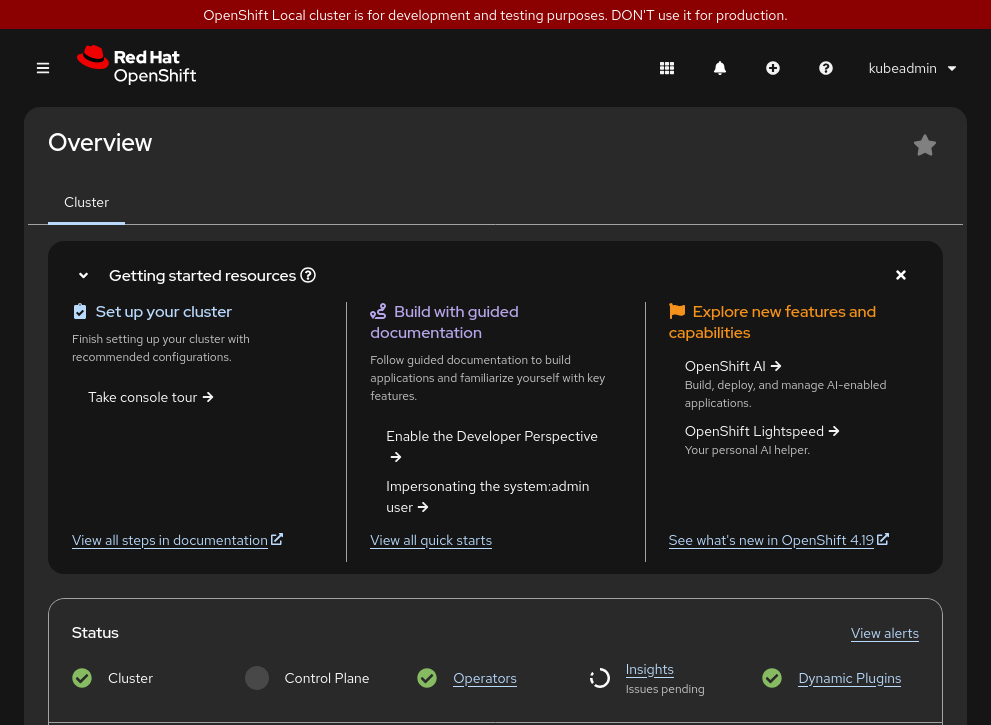
crc startOnce your crc start command says Started the OpenShift cluster, you can log in. The URL to access your OpenShift Local graphical console is https://console-openshift-console.apps-crc.testing/.
When you access the OpenShift Local Console for the first time, it will warn you about invalid certificates twice. Once when it takes you to the OAuth page to log in, and then again when you access the actual OpenShift Console. The certificates for anything *.apps-crc.testing are invalid because it's a fake domain set up on your local computer. You will need to accept these self-signed certificates to use the OpenShift Local Console.
Remember the administrator username is kubeadmin, and the administrator password is also provided in the output of the crc start command.
- Click the ? button in the top right.
- Click Command Line Tools.
- Click Download oc for Windows for x86_64.
- Accept another self-signed certificate for downloads.
- Extract the oc command in your Terminal.
-
tar -xf %USERPROFILE%\Downloads\oc.zip ^ -C %USERPROFILE%\AppData\Local\Microsoft\WindowsApps\ - Log into your OpenShift Local cluster in the Command Prompt using the oc command. You need to find the kubeadmin password provided when you started OpenShift Local with the crc start command and paste it after -p.
-
oc login https://api.crc.testing:6443 -u kubeadmin -p
- Click the ? button in the top right.
- Click Command Line Tools.
- Click Download oc for Linux for x86_64.
- Accept another self-signed certificate for downloads.
- Extract the oc command in your Terminal.
-
tar xvf ~/Downloads/oc.tar \ -C ~/.local/bin/ - Log into your OpenShift Local cluster in the Command Prompt using the oc command. You need to find the kubeadmin password provided when you started OpenShift Local with the crc start command and paste it after -p.
-
oc login https://api.crc.testing:6443 -u kubeadmin -p
Don't forget to share this page!
Next Articles